
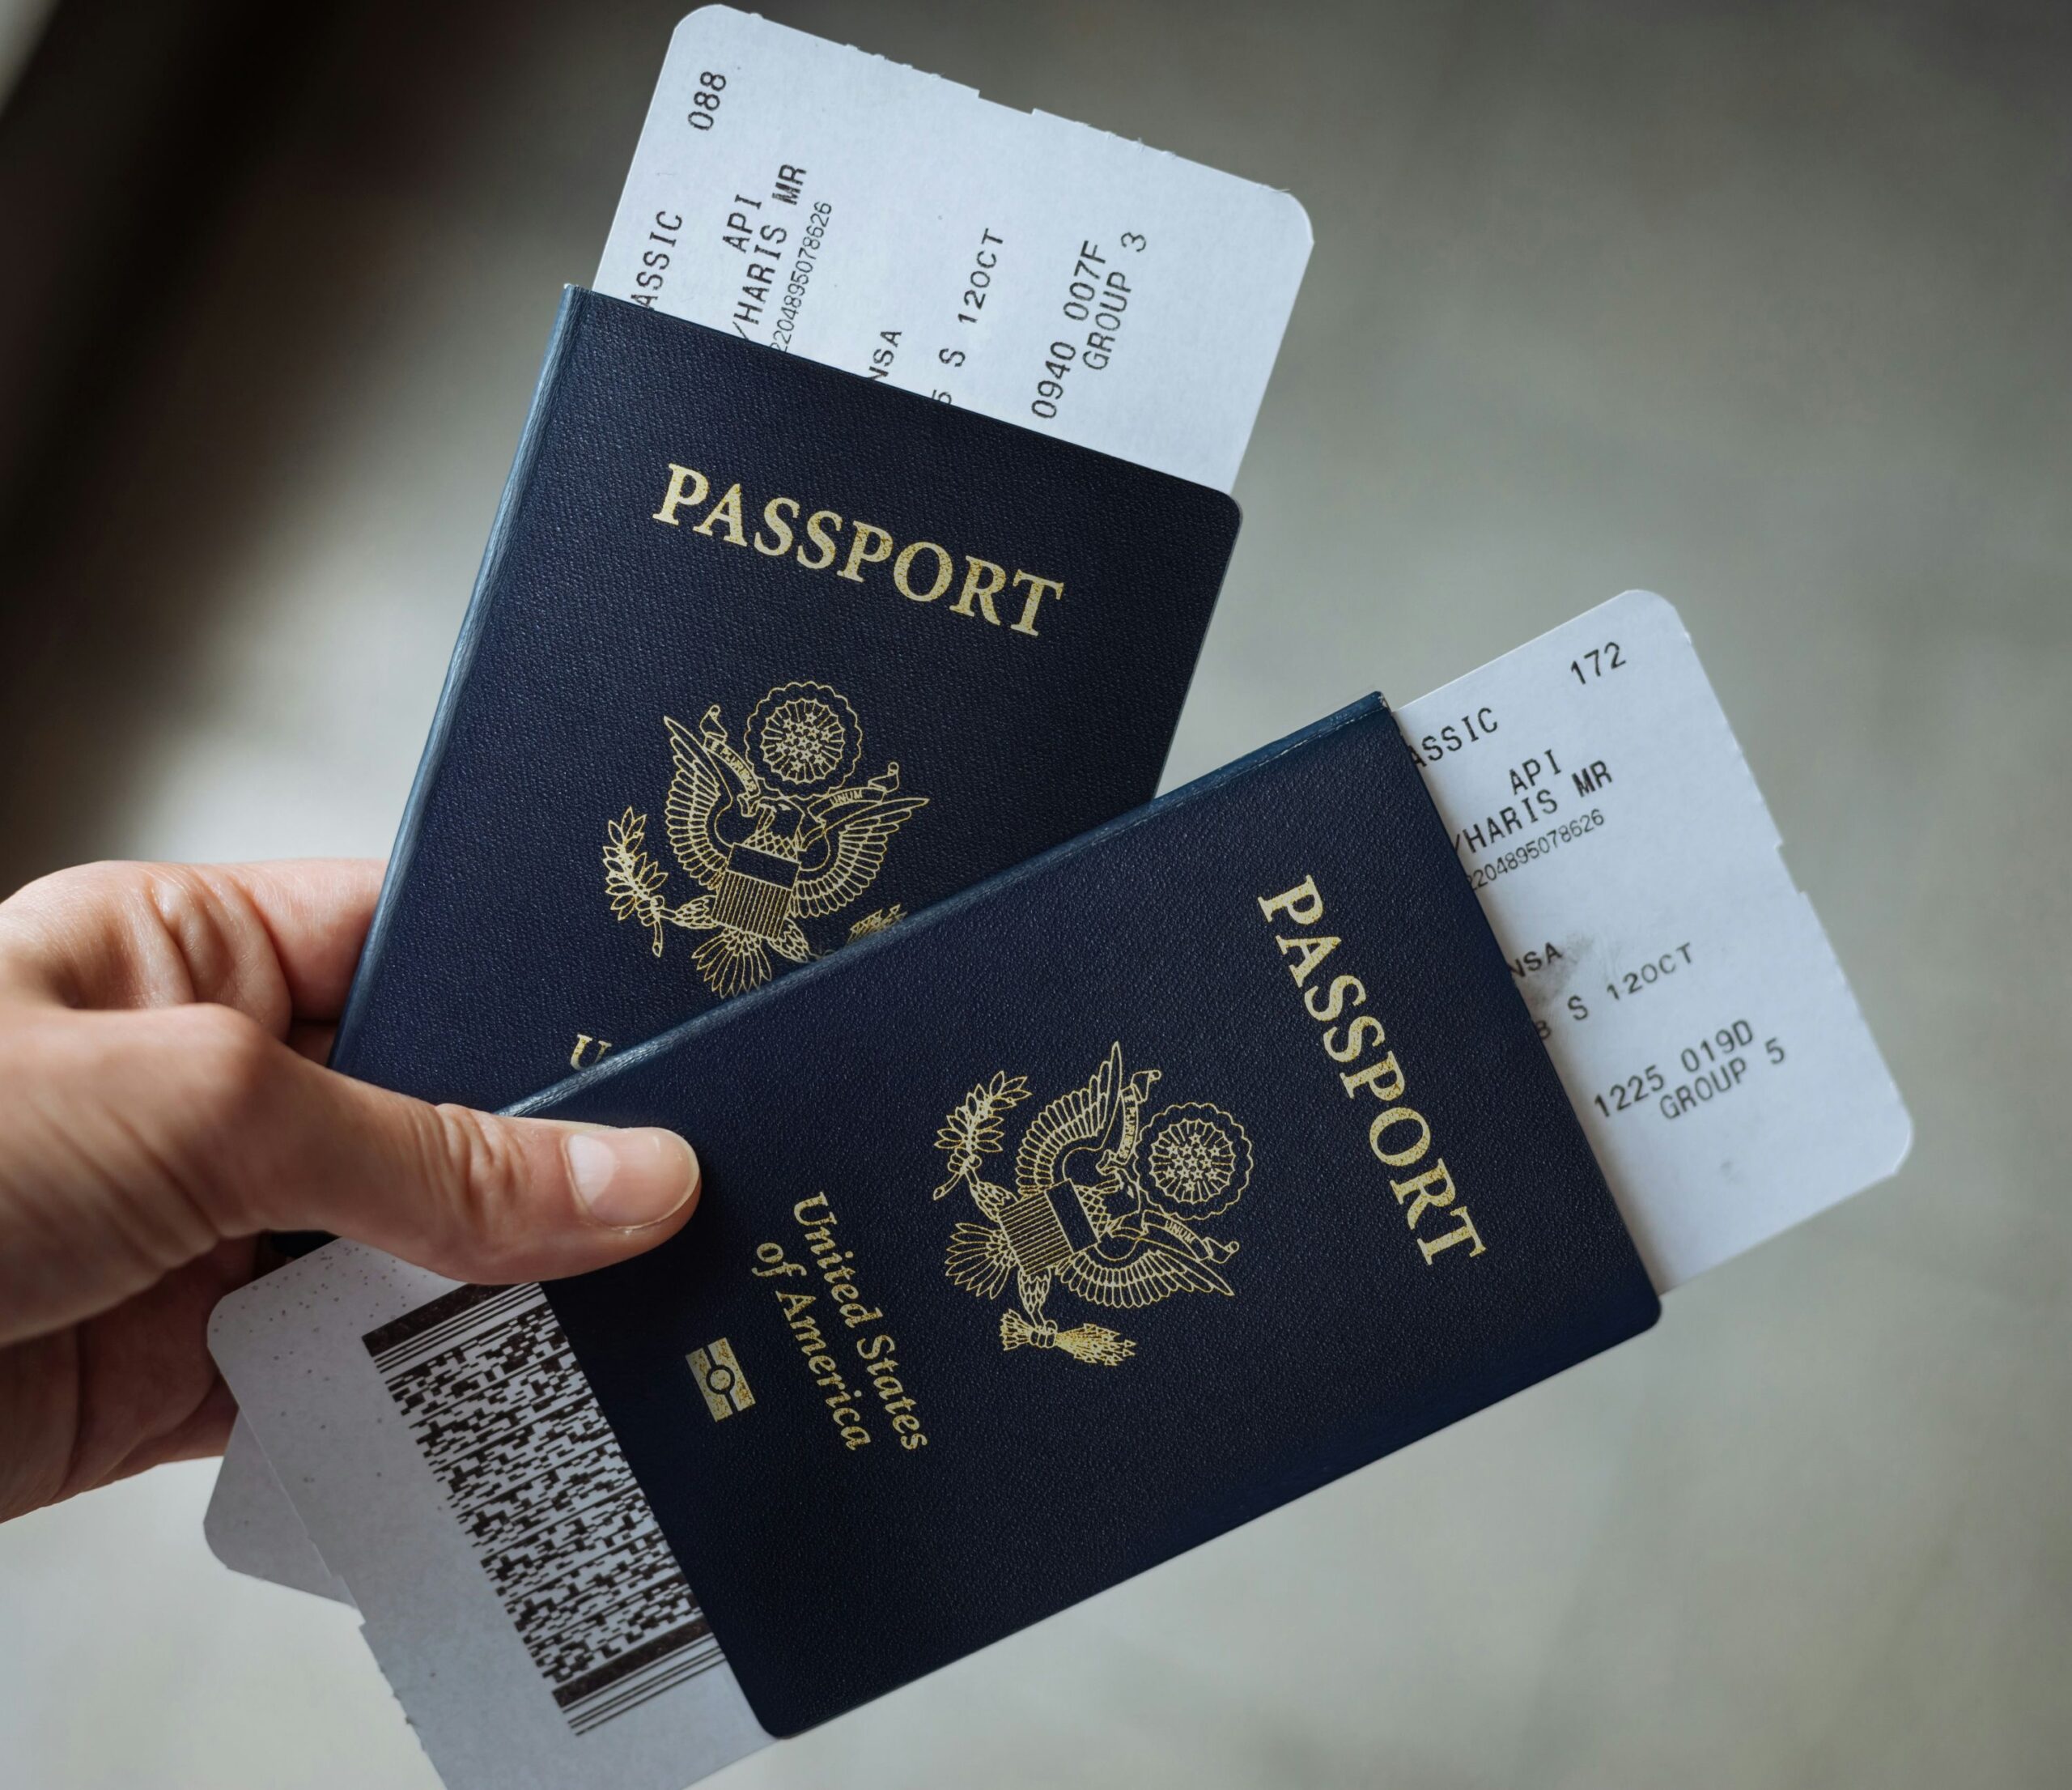
You’re at the airport, boarding pass in hand, when a small wave of doubt hits — did you actually pack the hotel confirmation? Is the passport still in the bag from last time, or did it get moved? For most travelers, this moment of doubt isn’t really about being disorganized. It’s that travel documents don’t have a fixed home the rest of the year, so at the one moment they matter most, nobody’s entirely sure where everything is.
Why Travel Documents Are Different From Everyday Paper Clutter
Most paperwork sits in a drawer or filing system you check occasionally. Travel documents are different — they need to be gathered, current, and accessible all at once, for a specific date, often for multiple people if you’re traveling as a family. That combination is exactly why they’re one of the most common sources of last-minute travel stress, even for people who consider themselves generally organized. A system for handling everyday paper clutter helps with filing and storage, but travel documents need their own dedicated checklist because of the deadline pressure involved.
The Core Documents Almost Everyone Forgets to Check
A few items show up again and again as the ones people realize they’re missing only after they’ve already left the house:
- Passport expiration date — many countries require at least six months of validity remaining, not just an unexpired passport
- Visa requirements, if traveling internationally — these vary by destination and sometimes need to be arranged weeks in advance
- Printed backup copies of digital bookings, in case a phone dies or an app glitches at the wrong moment
- Travel insurance documents, if purchased — easy to forget since the purchase often happens weeks before the trip
- Medication documentation, for prescriptions being carried across borders
Building a Checklist That Works Every Time
A good travel document checklist isn’t a list you write fresh before each trip — it’s a template you reuse and adapt slightly each time, so you’re never starting from a blank page while also trying to pack and plan everything else. The most reliable structure separates documents into three groups:
1. Identity documents — passport, ID, visas, any required entry paperwork 2. Booking confirmations — flights, hotels, car rentals, tours or reservations 3. Backup and contingency items — printed copies, embassy contact info for international trips, travel insurance details
Keeping these three categories separate — rather than one long undifferentiated list — makes it much faster to do a final check right before leaving, since you can scan by category instead of reading every line.
When to Do the Final Check
The final document check works best at two points, not one: a few days before the trip, when there’s still time to fix a problem (an expired passport, a missing visa), and again the morning of departure, as a fast confirmation rather than a discovery moment. Doing only the second check means any real problem gets found with no time left to fix it.
Digital vs. Physical Copies
Relying purely on a phone for travel documents carries real risk — dead batteries, lost phones, or app issues at security checkpoints are common enough that a backup matters. The safer approach is keeping both: digital copies accessible offline (saved as PDFs, not just an app that requires signal) and at least one printed physical copy of the most critical documents, kept separately from the phone rather than in the same bag.
Traveling With Family or a Group
Document stress multiplies when traveling with kids or a group, since each person needs their own set of identity documents, and it’s easy to assume “someone else” packed a specific item. Assigning one person as the designated checklist owner — responsible for confirming every traveler’s documents against the list, not just their own — removes the ambiguity that causes items to get missed when everyone assumes someone else checked.
For families with young children, it’s also worth double-checking passport validity separately for each child, since children’s passports often have shorter validity periods than adult passports and get renewed less frequently, making an expired one an easy detail to overlook until it’s too late.
A Ready-Made Checklist Removes the Guesswork
Building a thorough travel document checklist from scratch, covering every category and edge case, takes real research the first time through. A ready-made system like this travel-ready document checklist gives you a printable and digital checklist already built around these categories, so you can adapt it to your specific trip rather than building the structure yourself each time.
Frequently Asked Questions
How far in advance should I start checking travel documents? For international trips, start checking passport validity and visa requirements at least 4-6 weeks out, since visas and passport renewals can take time. For domestic trips, a few days ahead is usually enough for a final document check.
Do I really need printed copies if everything is on my phone? Yes, for critical documents especially. A dead phone or lost device at the wrong moment can turn a manageable situation into a genuinely stressful one — a printed backup costs almost nothing and removes that risk entirely.
What’s the biggest mistake people make with travel documents? Doing only one check, right before leaving, with no earlier check that leaves time to fix a real problem like an expired passport or missing visa.
Bottom Line
Travel document stress isn’t really about being disorganized — it’s about documents that only need attention a few times a year, at a moment with real deadline pressure. A reusable, categorized checklist and two check-in points (days before, and morning-of) turns that moment from a scramble into a five-minute formality.